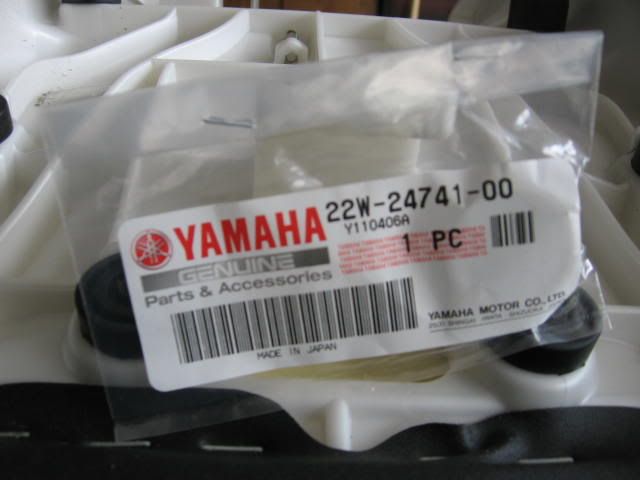
Just fitted the smaller bungs to my seat
photos with comments
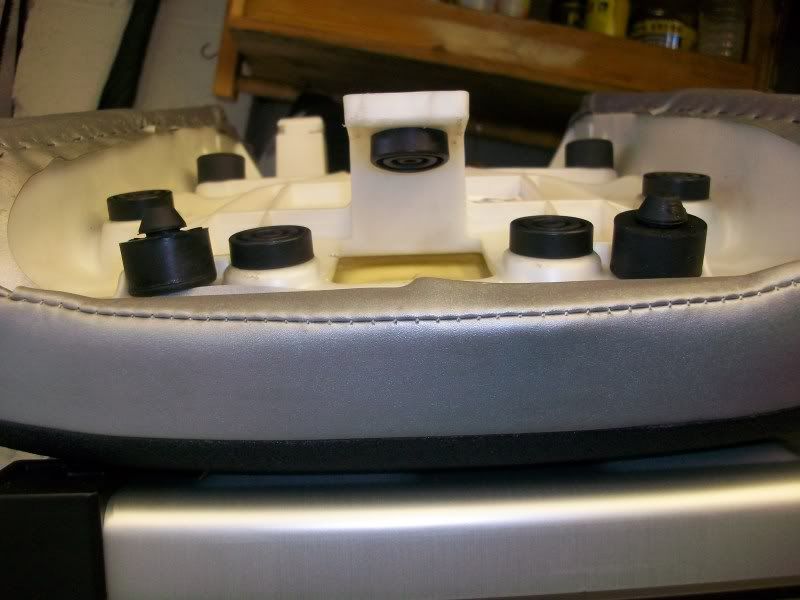
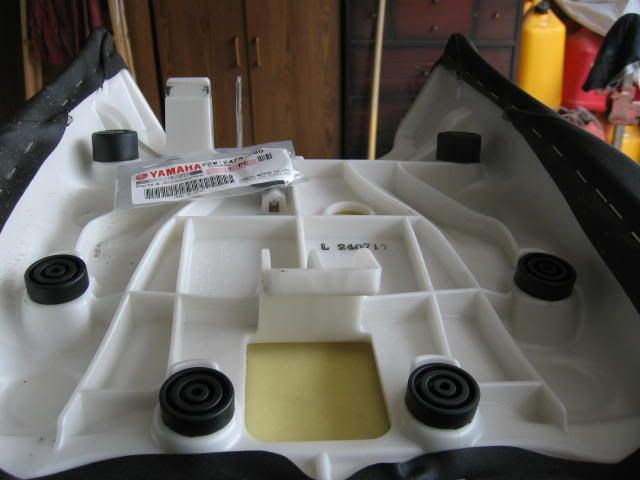
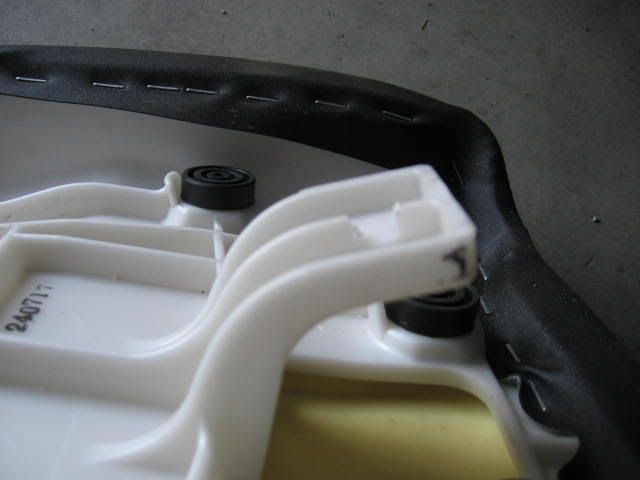
view from rear, I have stood the original bungs alongside the newer smaller ones to give an idea of the difference in size. Fitting to the original holes in the seat base is a breeze. The new bungs are a looser fit in the seat base but not so much that they are insecure.
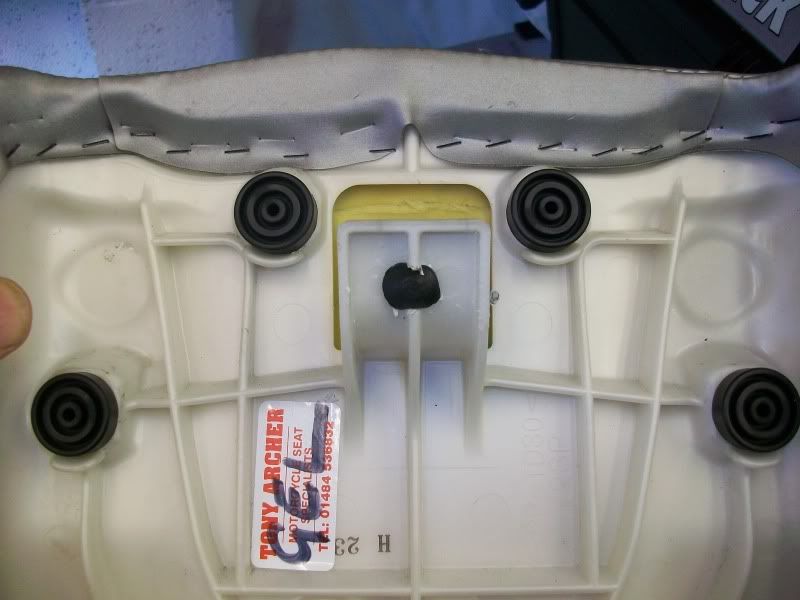
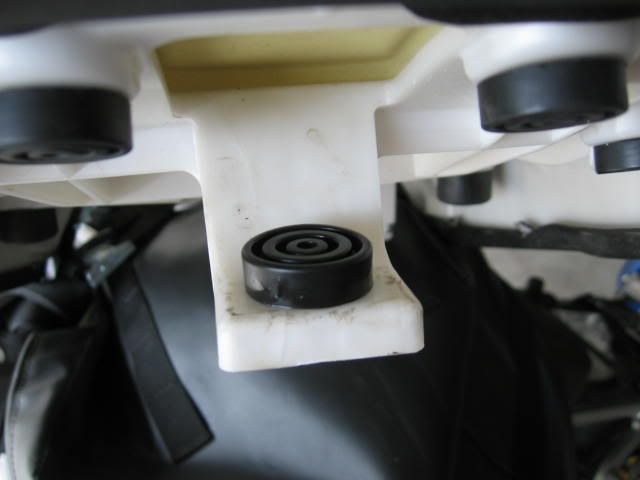
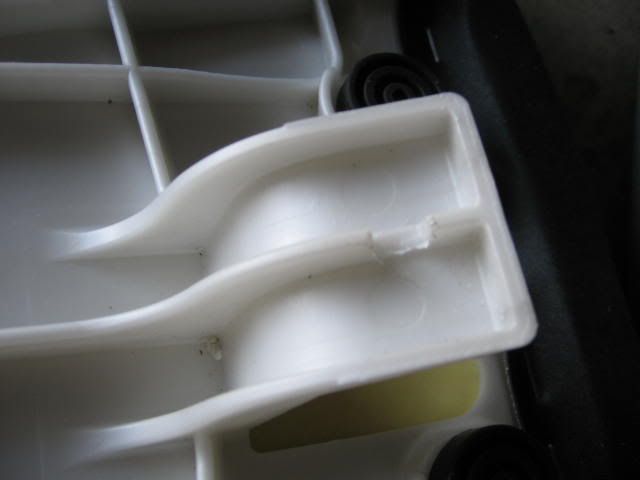
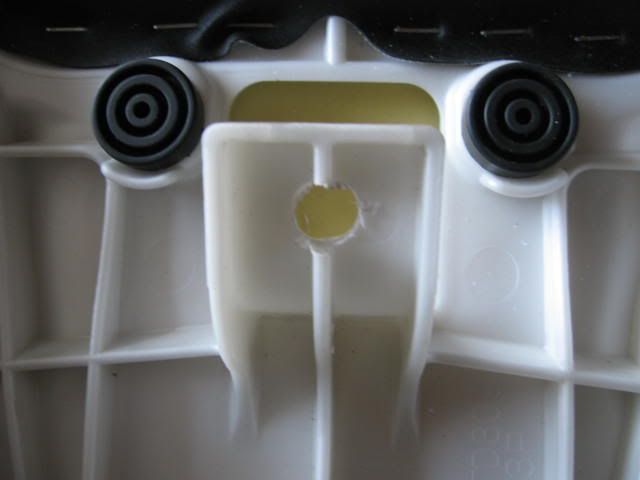
view from directly above (below?? - you know what I mean). You can see where I had to dill through the tab. I was hoping I could drill the hole off centre so that the tab would retain it original integrity by keeping the rib intact. Unfortunately there was insufficient room. I used a wood drill bit and carefully drilled down the rib and ultimately though the plastic tab. By drilling a hole slightly smaller in diameter that those in the seat base it ensured that the bung was a nice tight fit.
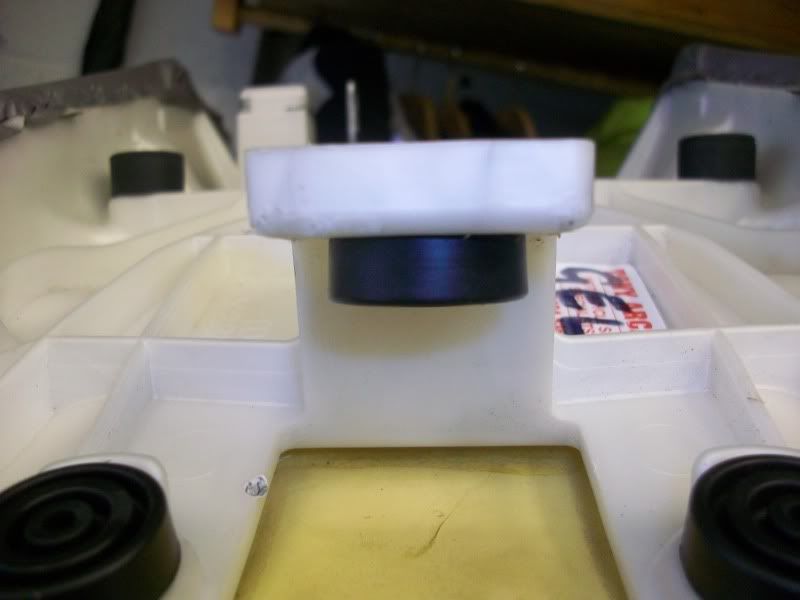
close up view of the bung in the tab. I have not had any problems on locating the tab when replacing the seat and would suggest that this is perhaps a better solution to taking up the slack than drilling the bike frame and placing the bung in that hole. It also allows for the transfer to and from the high/low seating positions without any problem.
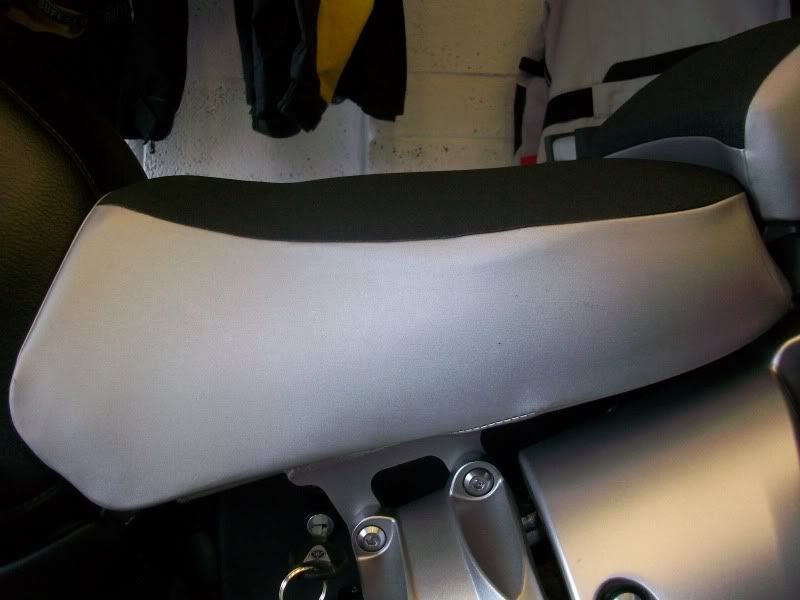
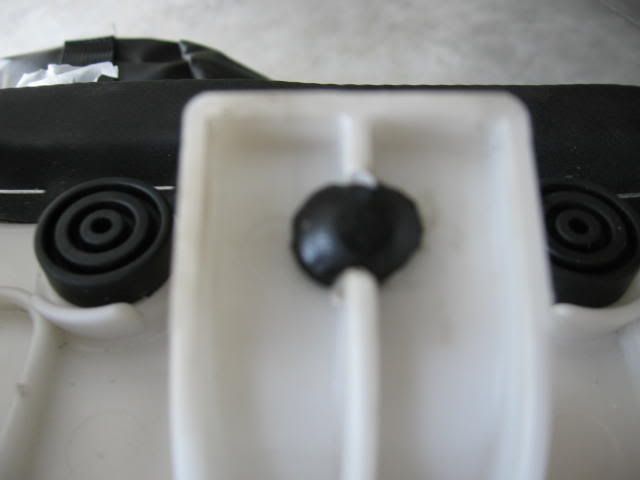
Final position of the seat base after fitting. You may notice a slightly abnormal profile to the seat. This is due to the insertion of a gel pad, another failed attempt to find comfort.
I am about to set off on a 2000 mile trip of Europe. I will take the original bungs with me in case I feel I need to revert back to the oe seating position. I am also borrowing a sheepskin. Hopefully I will be able to give some feedback on my return.
[
DaveR
")