kjetil4455
Active Member
Hello, thank you for this post. I hope I can get some help here with my problem as I have tried to calibrate my throttle bodies as well.
I recently bought a 2012 ST. It runs pretty well but is extremely weak in idling, and I choke it (ie it turns off) if I don't turn the throttle very carefully when I am initiating forward motion. I don't have so much experience with big heavy bikes, so the lack of an effective clutch really makes me make a lot of mistakes and I already dropped the bike once due to this.
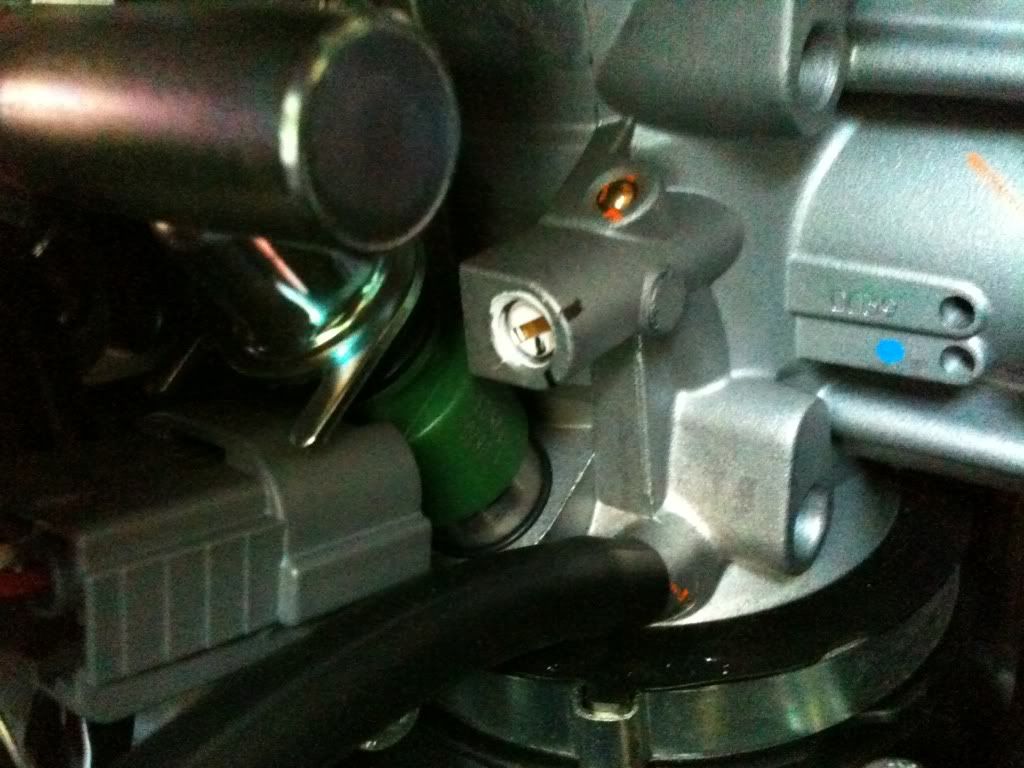
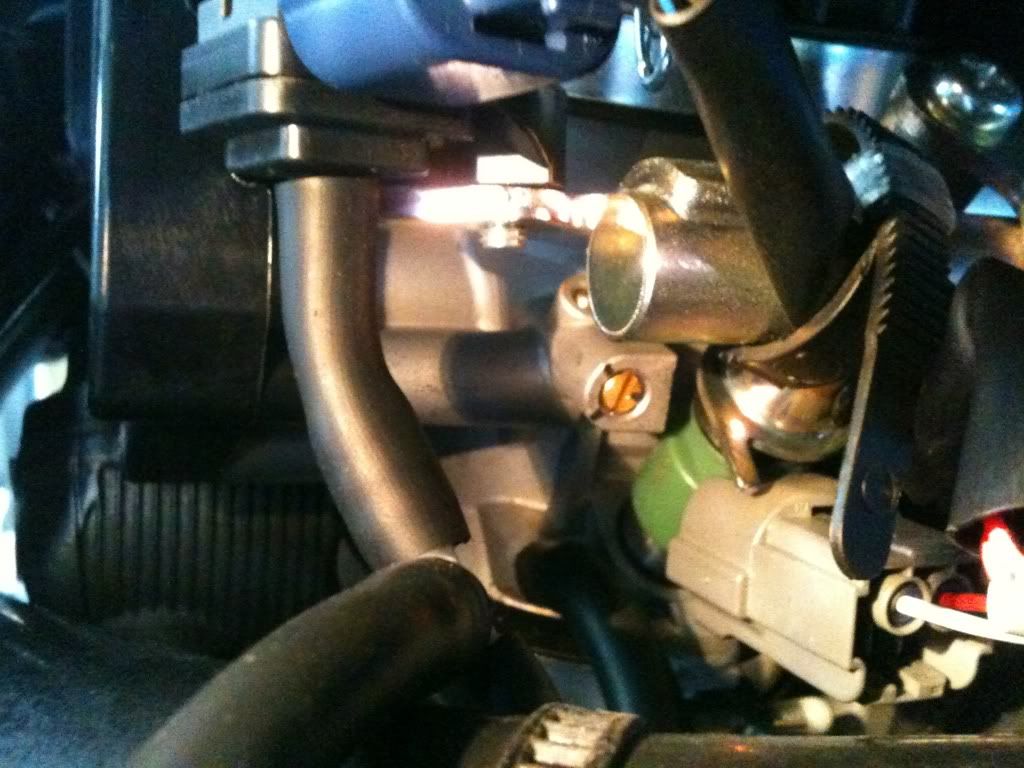
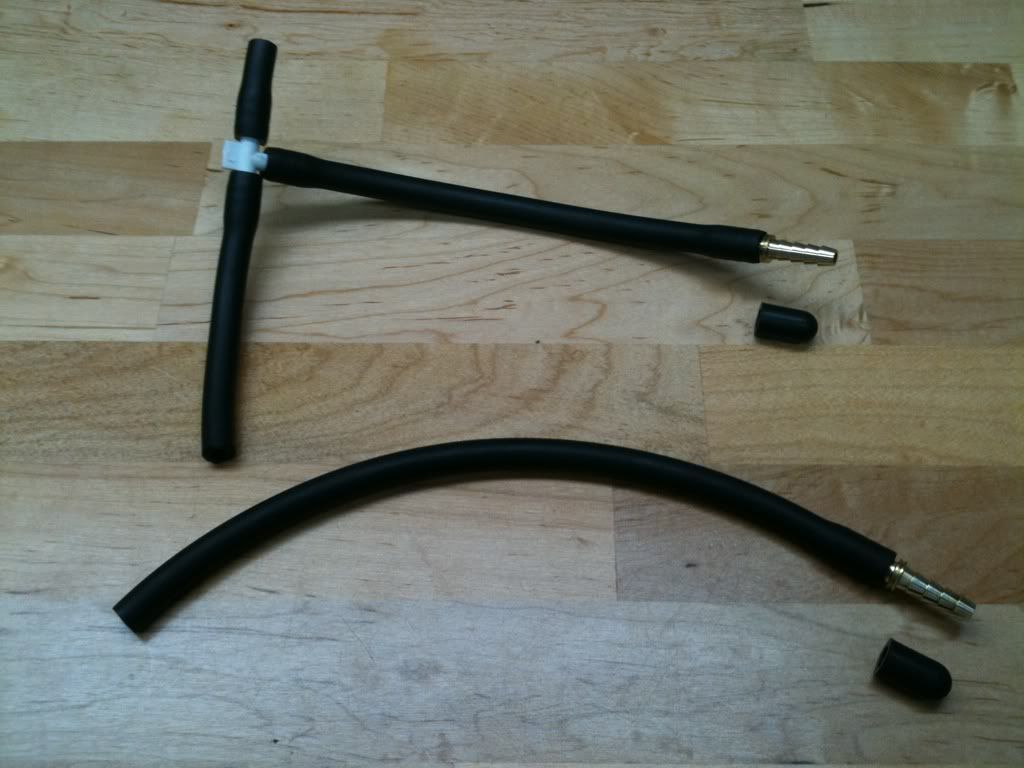
We have increased the CO2 in both cylinders to "10". We also set the throttle body bleeding screws to 3/4, but this made it run horrible. I live in south america and this type of MC isn't common here, and the mechanics don't know so much about them. I personally am certainly no engine expert, but I am overall techy and hope I can sort this out, so I started reading online and realized I needed a proper manometer. So we tried again: We turned the WHITE (bypass) screw to 3/4 and checked the vaccuum pressures, and they were way off. C1 had 6cm Hg higher pressures than the second cylinder. Unfortunately, however, and this is what I was hoping to get some advice on; turning the second (non-dominant) screw does nothing at all. Being completely closed or open, it does not change the vac pressure in the second cylinder. So in the end, what we had to do to get a half-assed calibration was to open the WHITE screw by 2.5 full turns from closed position, and leave the NON-DOMINANT screw completely closed. This way we got almost to spec at approx. 1.5 cm Hg difference in pressure (using a liquid mercury manometer).
For the vaccuum pressure I've seen done by others, it is around 24cm Hg. We ended up at like 18cm Hg at fair calibration. I presume this, indeed, is a problem.
Is the throttle body damaged, is that why turning the non-dominant screw does not work? Or is there some maintenance that can be done to fix this? I'd like to reach 0 difference. Finally, is it a problem that the white screw is 2.5 full turns? The throttle response does seem much positively improved after what we did.
Sorry for a long text, this is my first post.
I recently bought a 2012 ST. It runs pretty well but is extremely weak in idling, and I choke it (ie it turns off) if I don't turn the throttle very carefully when I am initiating forward motion. I don't have so much experience with big heavy bikes, so the lack of an effective clutch really makes me make a lot of mistakes and I already dropped the bike once due to this.
We have increased the CO2 in both cylinders to "10". We also set the throttle body bleeding screws to 3/4, but this made it run horrible. I live in south america and this type of MC isn't common here, and the mechanics don't know so much about them. I personally am certainly no engine expert, but I am overall techy and hope I can sort this out, so I started reading online and realized I needed a proper manometer. So we tried again: We turned the WHITE (bypass) screw to 3/4 and checked the vaccuum pressures, and they were way off. C1 had 6cm Hg higher pressures than the second cylinder. Unfortunately, however, and this is what I was hoping to get some advice on; turning the second (non-dominant) screw does nothing at all. Being completely closed or open, it does not change the vac pressure in the second cylinder. So in the end, what we had to do to get a half-assed calibration was to open the WHITE screw by 2.5 full turns from closed position, and leave the NON-DOMINANT screw completely closed. This way we got almost to spec at approx. 1.5 cm Hg difference in pressure (using a liquid mercury manometer).
For the vaccuum pressure I've seen done by others, it is around 24cm Hg. We ended up at like 18cm Hg at fair calibration. I presume this, indeed, is a problem.
Is the throttle body damaged, is that why turning the non-dominant screw does not work? Or is there some maintenance that can be done to fix this? I'd like to reach 0 difference. Finally, is it a problem that the white screw is 2.5 full turns? The throttle response does seem much positively improved after what we did.
Sorry for a long text, this is my first post.
Attachments
-
 64.4 KB Views: 39
Last edited: