[May 18 2015 update: How to kill an EB PC-8 Relay: http://www.yamahasupertenere.com/index.php?topic=15625.0]
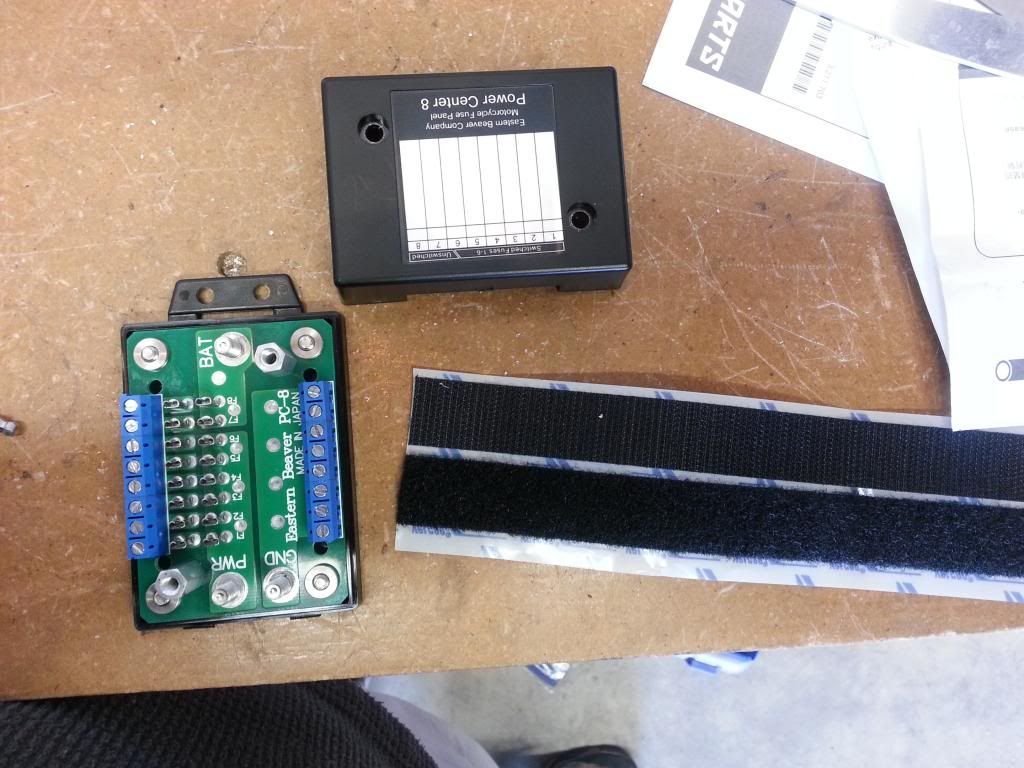
I mounted my recently acquired PC-8 from Eastern Beaver up yesterday. I took a bunch of pics - hope this helps someone.
I chose to go in the compartment where the relays are on the right side of the bike. To get to it remove both right side fairings - the one that covers the battery (4 hex bolts) and the one above it - 4 or 5 screws and two little black fast button thingies on the fork side of the cowling.
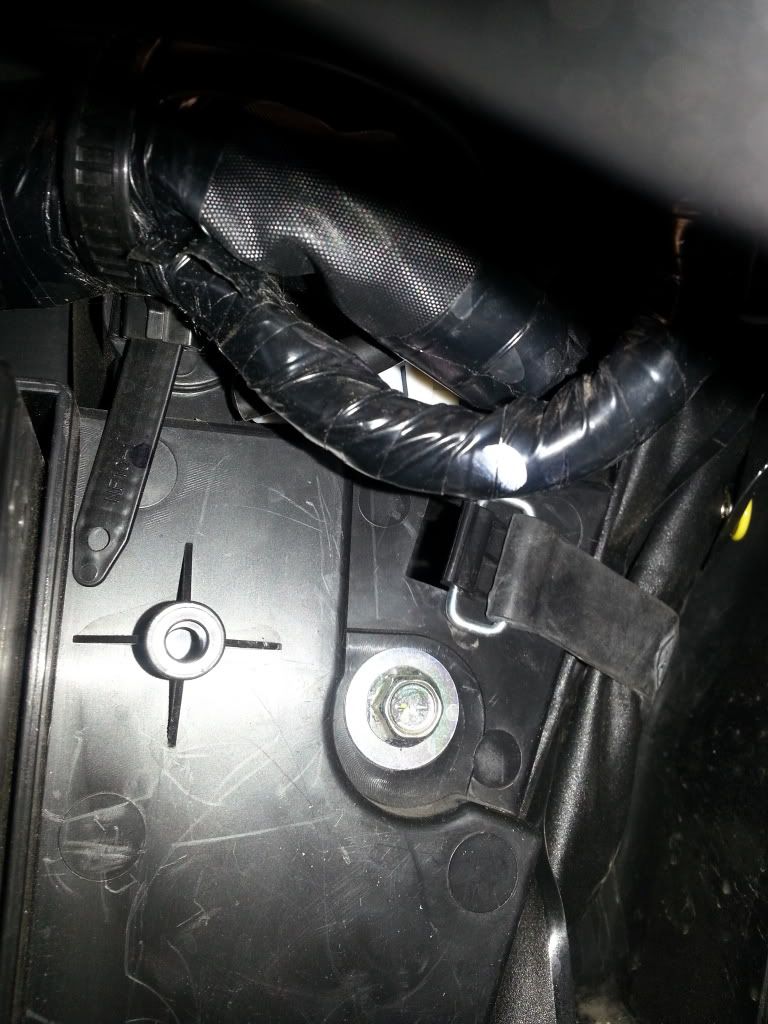
After that you need to remove the fin in the middle of the empty space. I clipped mine in a bunch of spots and then snapped the pieces right off - they came off nice and clean but I then ground it with a dremel. You don't need the dremel work but I was in the mood. You can see my not so handy dremel marks below. I ended up going back and cutting that bottom fin most of the way back so I could get wires through without weird bends in the future.
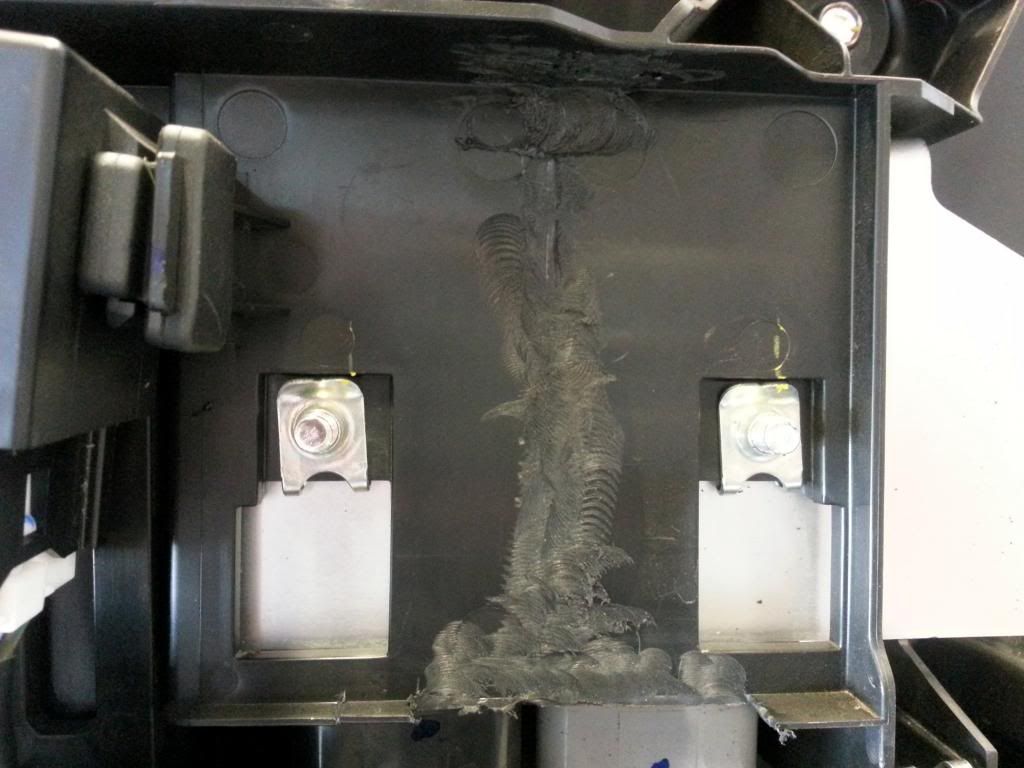
I added velcro strips to help hold it completely down and in place while I put the screws in.
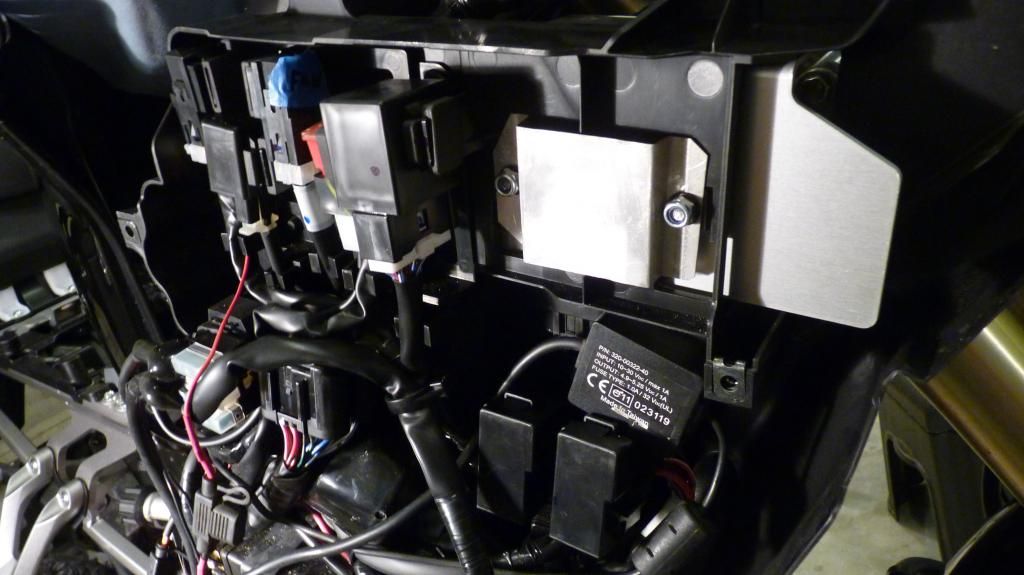
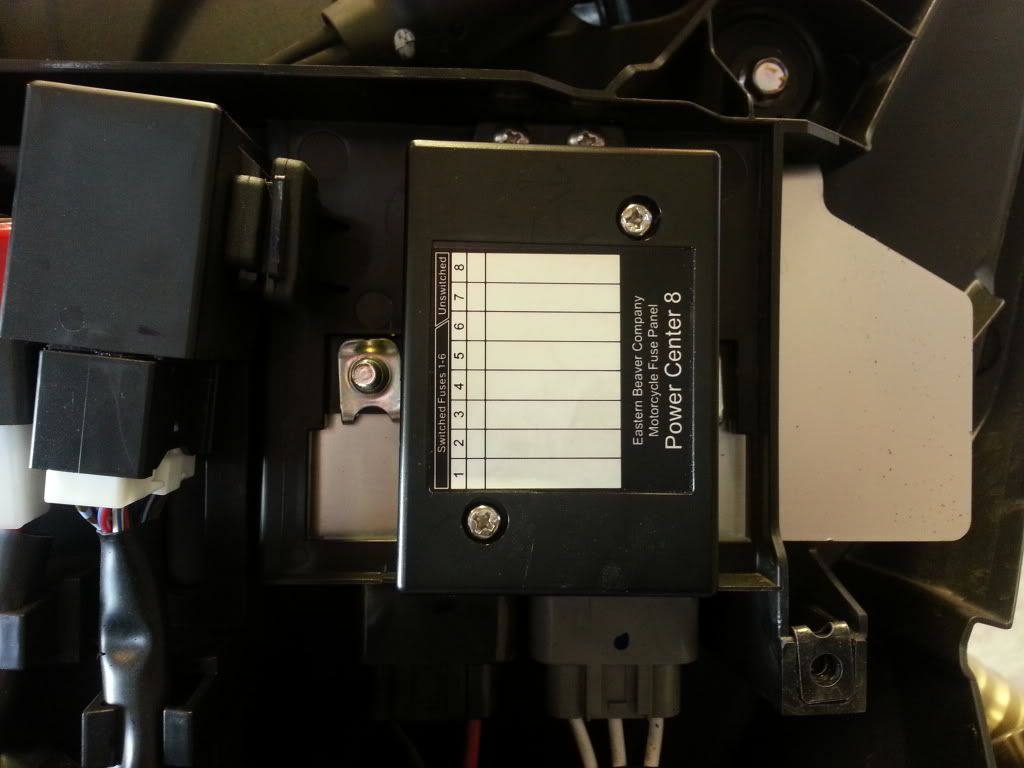
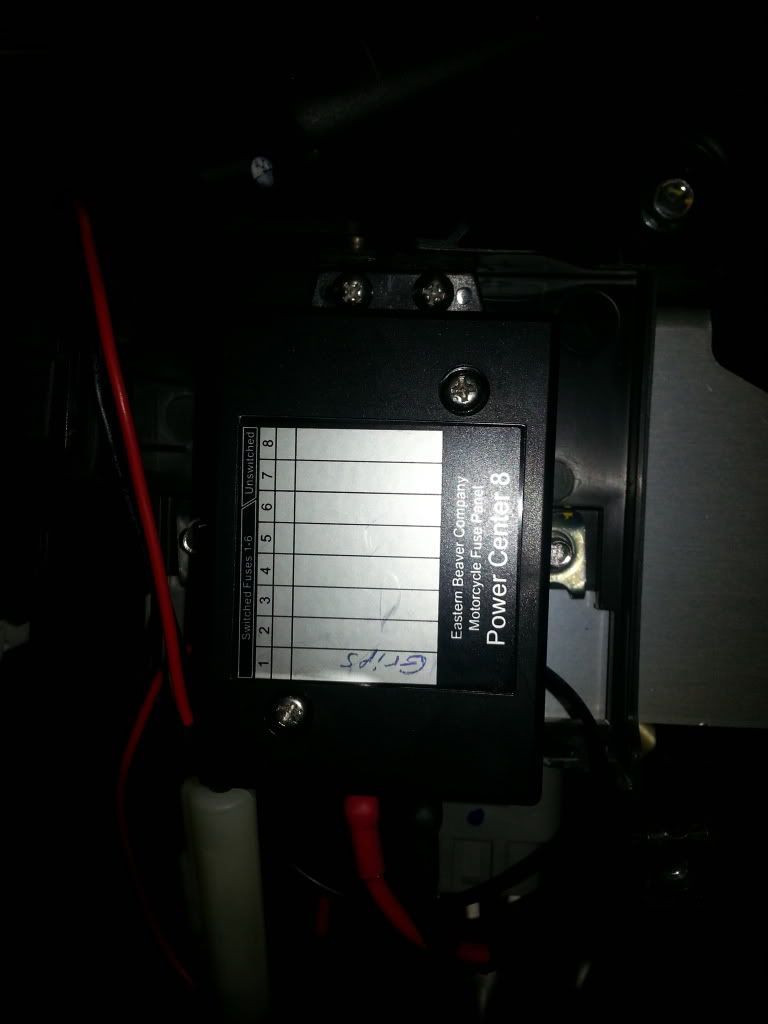
In place with the cover on.
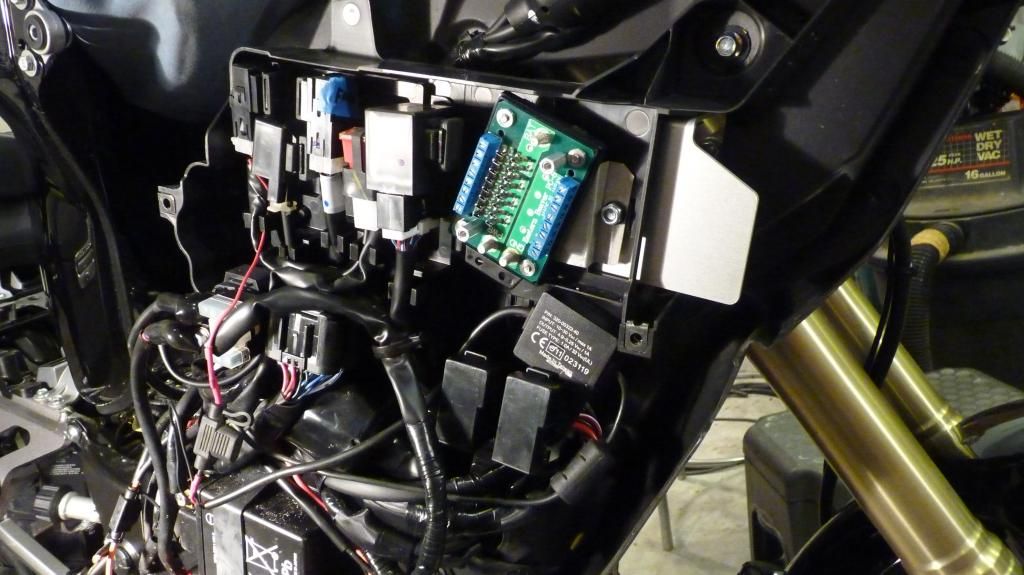
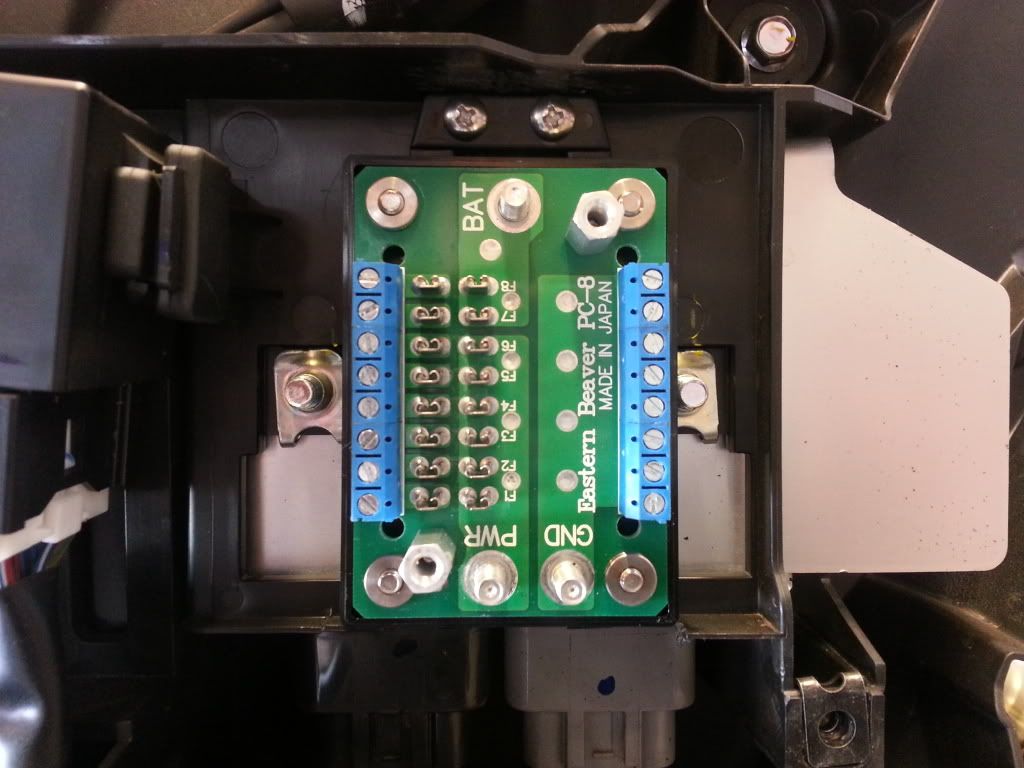
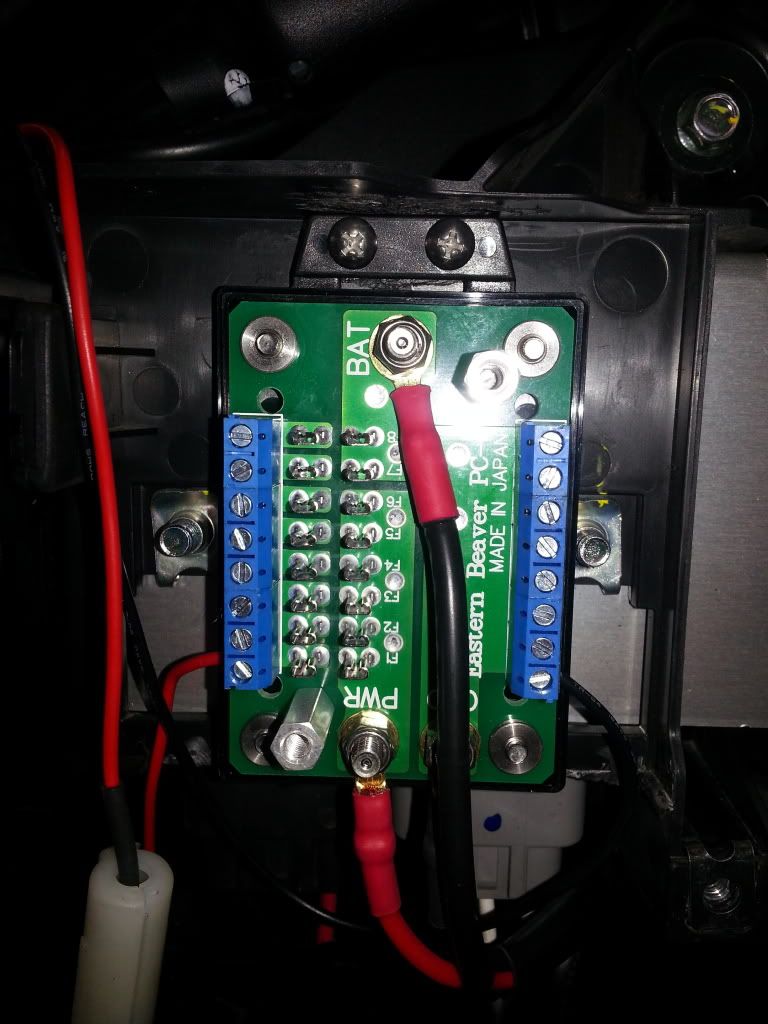
In place, cover off. The screws are aimed upward a touch to avoid the protective aluminum cover that goes over the reg/rectifier. I used the EB supplied screws.
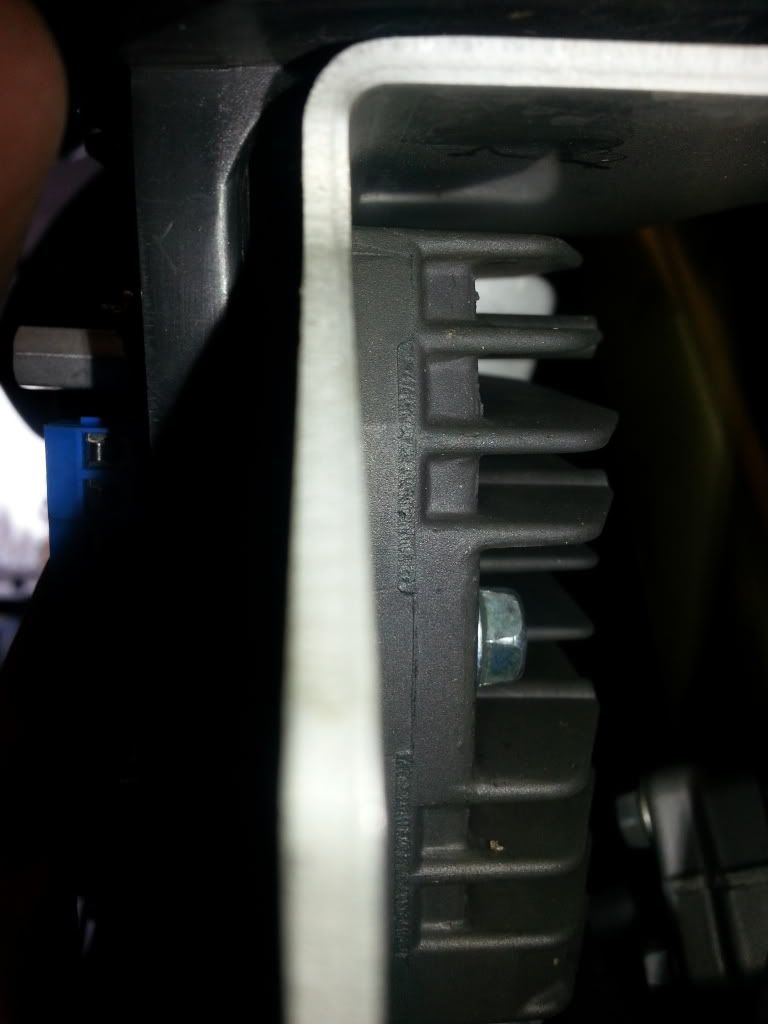
Reg rectifier cover viewed from the front. The screws miss it completely (cant see it here).
Aux light harness connection. Aux light and heated grip leads. Remove the protective cap on the aux light lead. and the PC8 harness snaps right in. A small flat blade screwdriver helps.

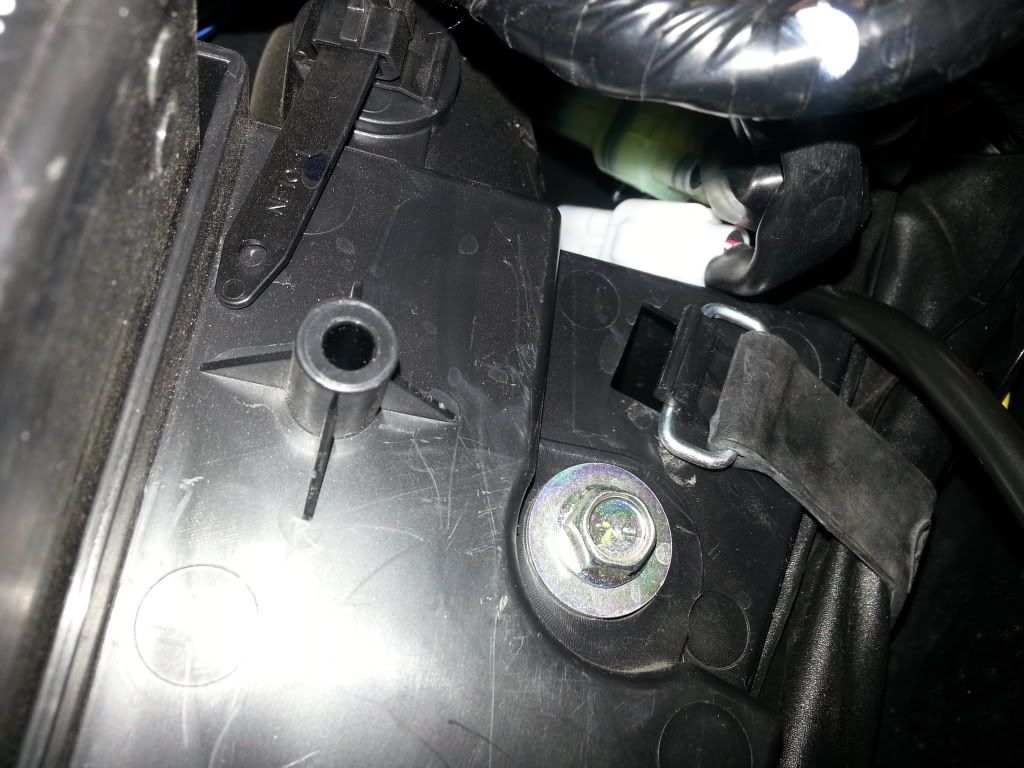
Finding the switched light and grip harness - just right (front) of the battery in a little space.
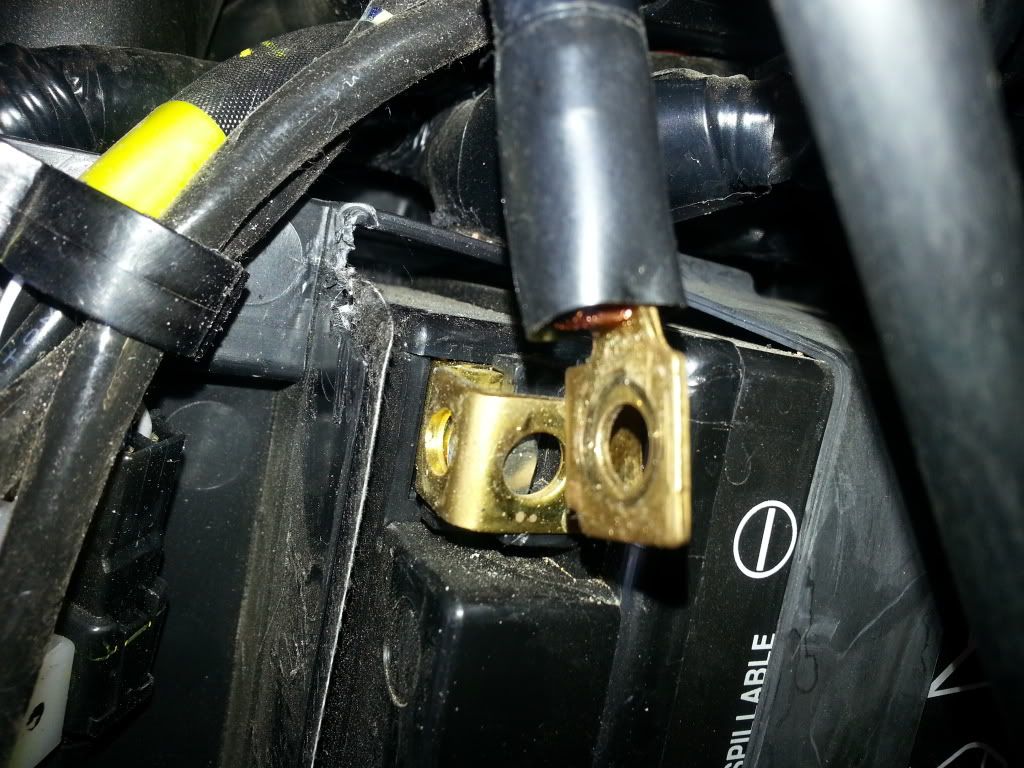
Ground the sharp edge out-of-the-way by the negative terminal
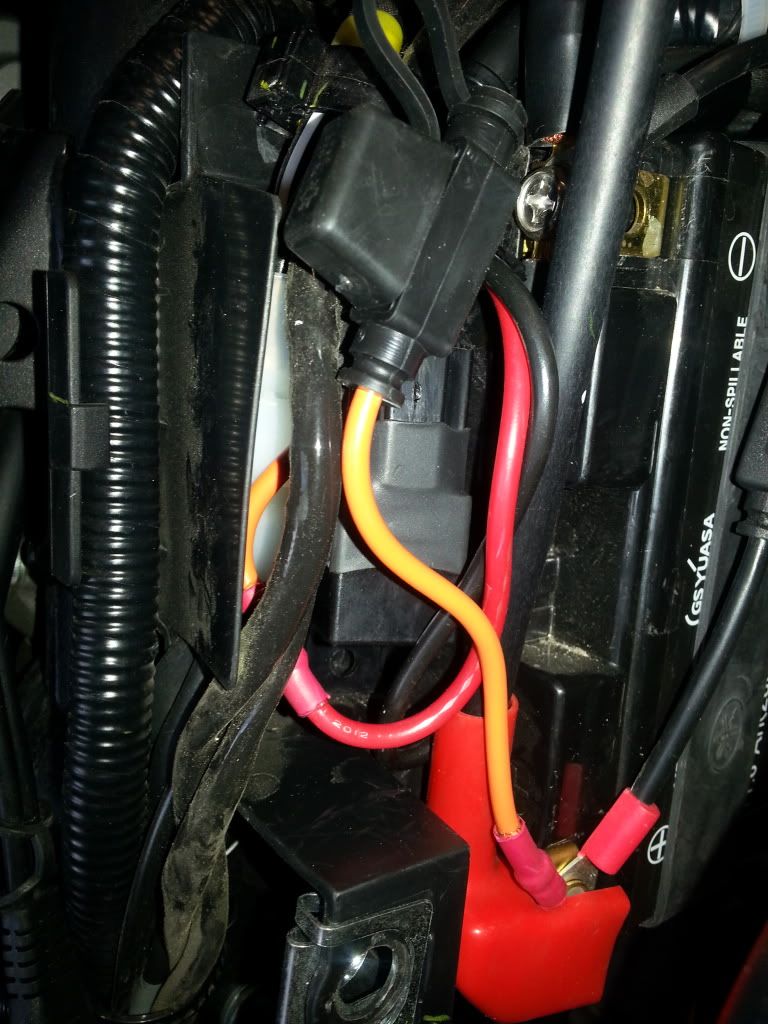
Stuffed the relay and main fuse in the little space. Still have the tender lead directly to the battery.
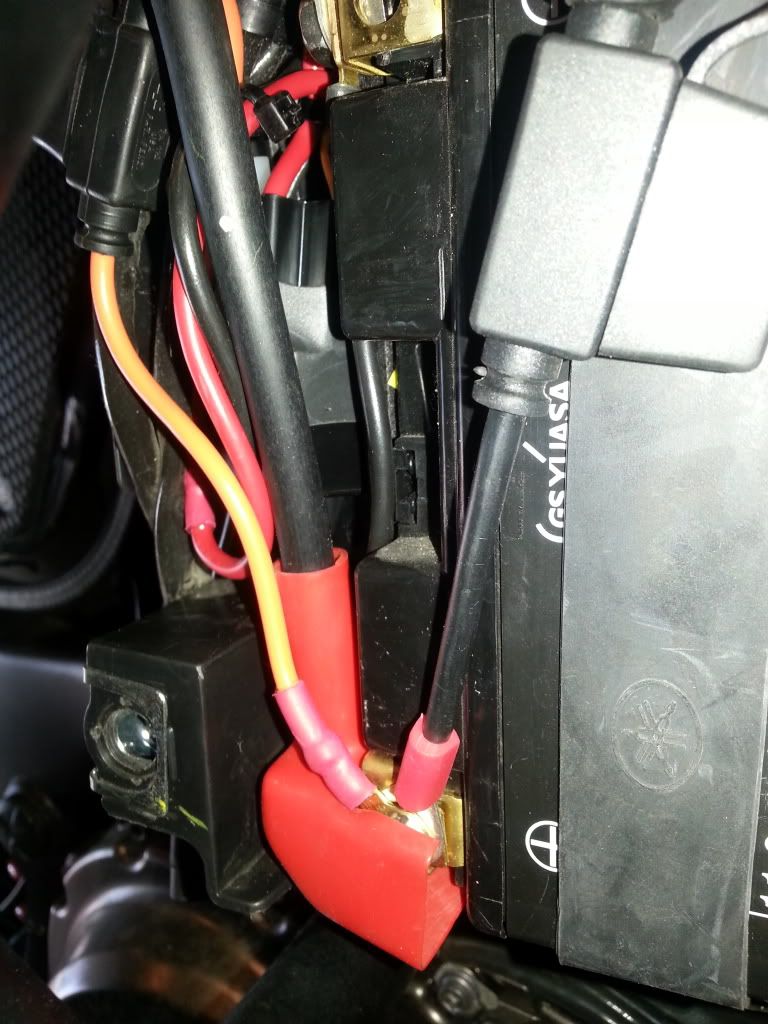
Different view.
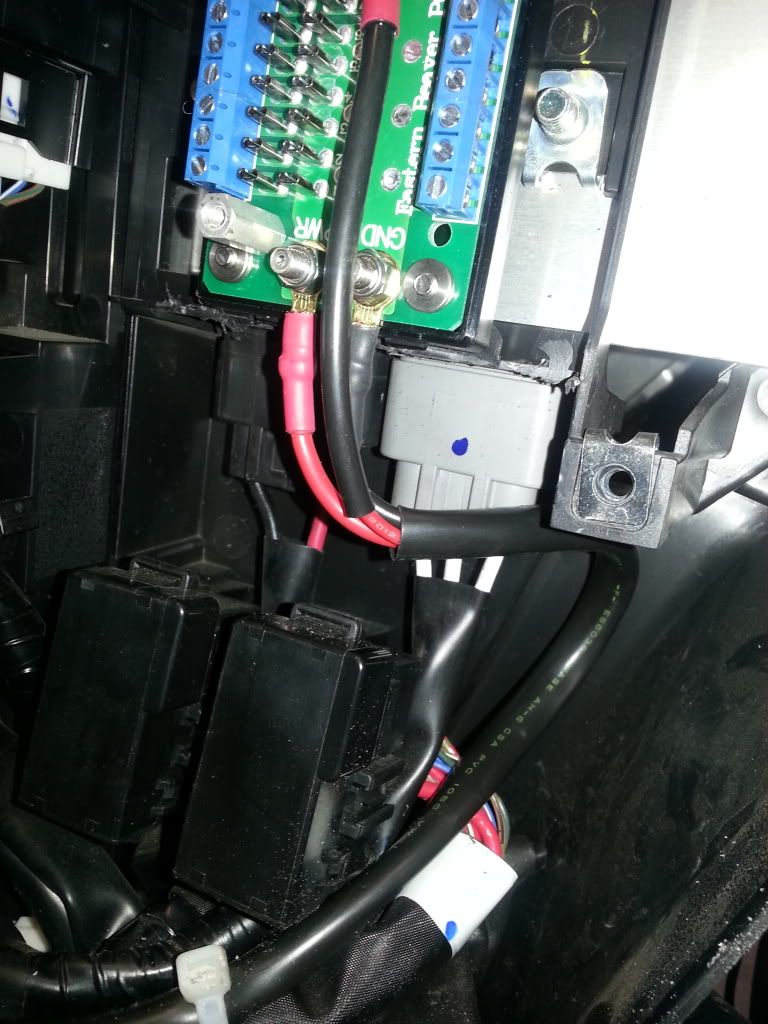
Lead to the PC8
Tucked the harness connection back in- you can't even tell it is there.
Mounted and wired.
Done, with KTM grip lead coming in from above. More to follow ...
I mounted my recently acquired PC-8 from Eastern Beaver up yesterday. I took a bunch of pics - hope this helps someone.
I chose to go in the compartment where the relays are on the right side of the bike. To get to it remove both right side fairings - the one that covers the battery (4 hex bolts) and the one above it - 4 or 5 screws and two little black fast button thingies on the fork side of the cowling.
After that you need to remove the fin in the middle of the empty space. I clipped mine in a bunch of spots and then snapped the pieces right off - they came off nice and clean but I then ground it with a dremel. You don't need the dremel work but I was in the mood. You can see my not so handy dremel marks below. I ended up going back and cutting that bottom fin most of the way back so I could get wires through without weird bends in the future.

I added velcro strips to help hold it completely down and in place while I put the screws in.

In place with the cover on.

In place, cover off. The screws are aimed upward a touch to avoid the protective aluminum cover that goes over the reg/rectifier. I used the EB supplied screws.

Reg rectifier cover viewed from the front. The screws miss it completely (cant see it here).

Aux light harness connection. Aux light and heated grip leads. Remove the protective cap on the aux light lead. and the PC8 harness snaps right in. A small flat blade screwdriver helps.

Finding the switched light and grip harness - just right (front) of the battery in a little space.

Ground the sharp edge out-of-the-way by the negative terminal

Stuffed the relay and main fuse in the little space. Still have the tender lead directly to the battery.

Different view.

Lead to the PC8

Tucked the harness connection back in- you can't even tell it is there.

Mounted and wired.

Done, with KTM grip lead coming in from above. More to follow ...