Cycledude
Well-Known Member
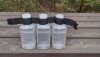
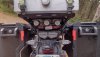
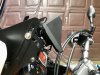
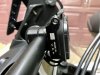
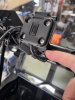
Where did you get your speed bleeders from, did they come as a complete kit for the Super Tenere ?Bled my brakes, finally. Still had original fluid. Was the color of dark tea, but not as bad as some. The rear brake had darker fluid than the front. Installed speed bleeders during the process. Cycled the ABS pump after the first bleed, then bled the brakes again. The levers feel a bit more firm and braking is generally improved.
Eville Rich
2016 S10
Have them on my Goldwing, they sure make bleeding a lot easier.