Eastern Beaver PC-8 Install Pics
- Thread starter tpak
- Start date
Merfman
Member
Since I used this thread as inspiration for my most recent mod, I thought I'd add some pics and descriptions of my solution.
I'd installed the PC8 earlier after fabricating a metal bracket. It worked just fine but I needed another mount. I've added some
3000 lumen LED lights that other drivers/riders indicated were like staring into the sun (judging by their reactions/hand signals)
so I decided I needed to add a dimmer. I found a PWM motor controller on eBay for <$5 but needed a dry-ish place to mount.
I also have a 3D Printer so my first thought was to print a box and mount it top side somewhere. That turned out to be too large
for my tastes so I shelved the project for further ponderage. What I decided to do was to remove the potentiometer from the board
and remotely mount it on the bars and mount the remainder of the board in the PC8 area as I thought there was room. After taking
some quick measurments, I designed and printed a bracket and mounted it all up... in pictures:
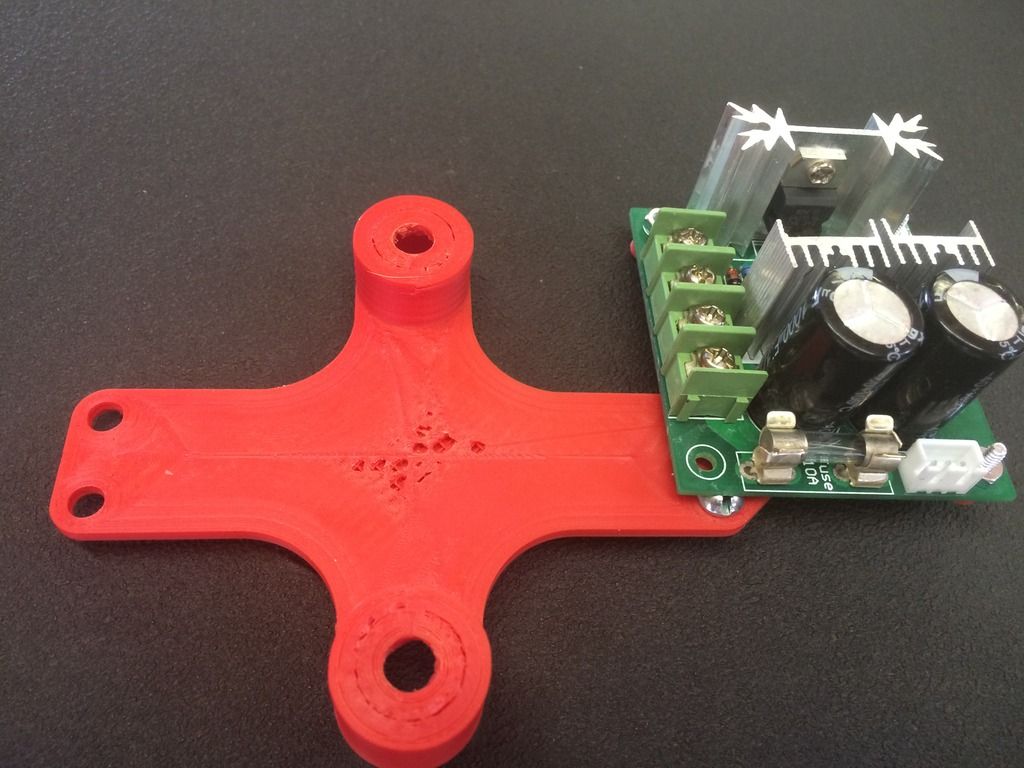
PWM controller mounted to the printed bracket:
PWM controller and bracket mounted to bike:
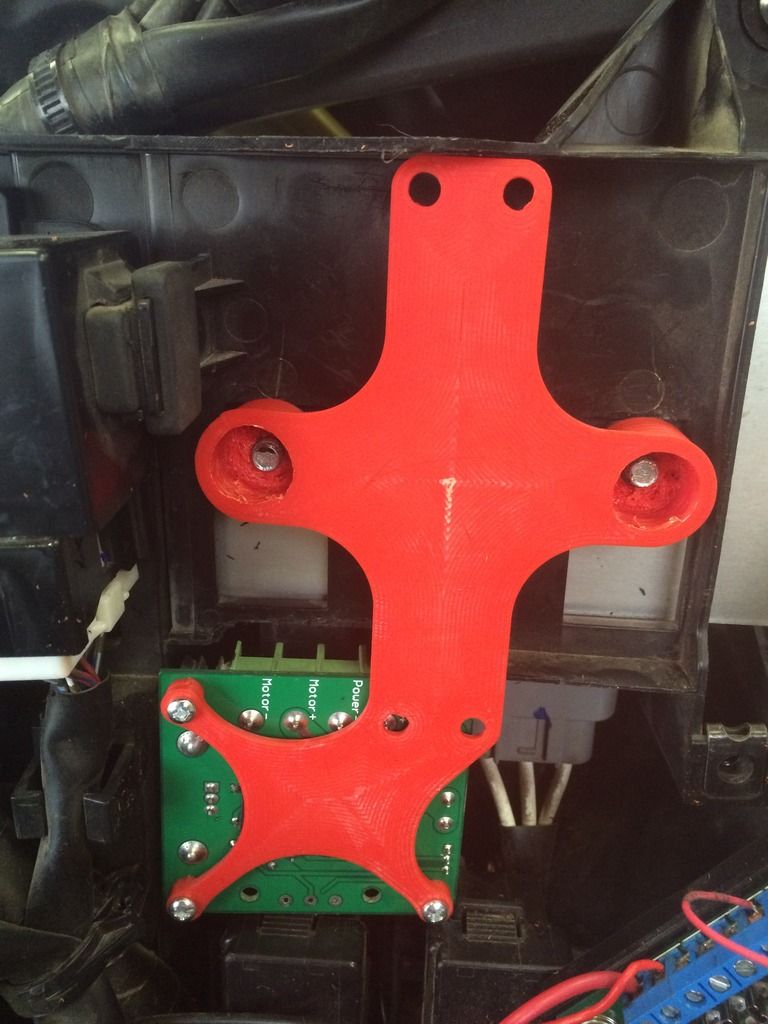
All pieces mounted up:

I then printed a handlebar bracket/mount that held a switch and the pot for the dimmer module. Works like a charm.
Then I found the dash-infill thread and am currently rethinking the topside mounting... LOL
I'd installed the PC8 earlier after fabricating a metal bracket. It worked just fine but I needed another mount. I've added some
3000 lumen LED lights that other drivers/riders indicated were like staring into the sun (judging by their reactions/hand signals)
so I decided I needed to add a dimmer. I found a PWM motor controller on eBay for <$5 but needed a dry-ish place to mount.
I also have a 3D Printer so my first thought was to print a box and mount it top side somewhere. That turned out to be too large
for my tastes so I shelved the project for further ponderage. What I decided to do was to remove the potentiometer from the board
and remotely mount it on the bars and mount the remainder of the board in the PC8 area as I thought there was room. After taking
some quick measurments, I designed and printed a bracket and mounted it all up... in pictures:
PWM controller mounted to the printed bracket:

PWM controller and bracket mounted to bike:

All pieces mounted up:

I then printed a handlebar bracket/mount that held a switch and the pot for the dimmer module. Works like a charm.
Then I found the dash-infill thread and am currently rethinking the topside mounting... LOL
Will Rotten
Member
Thanks to TPAK I installed my PC-8 very easily. I just trimmed out the fin and the mounting bracket on the PC-8 so it fit inside with out modifying the bottom edge of the plastic on the bike. With the dual lock fastener it looks like it was supposed to be there.
2014 ES

Relocate Cruise/stop light fuse to the cable tidy just below it.
Remove the plastic mounting lug and fins to make room for the PC8 - Using a razor just score the plastic where you want it to snap and then bend it and it comes out very cleanly.
I chose to use velcro to then mount the PC8 for ease of pulling it out to access it if needed however there is enough room to insert wires with it in place, if you have fat sausage fingers like me some needle nose pliers work great for holding and inserting the wires into the PC8. If you were out in the field though you could simply rip the PC8 out make any modifications or repairs and then stick it back in without any tools.
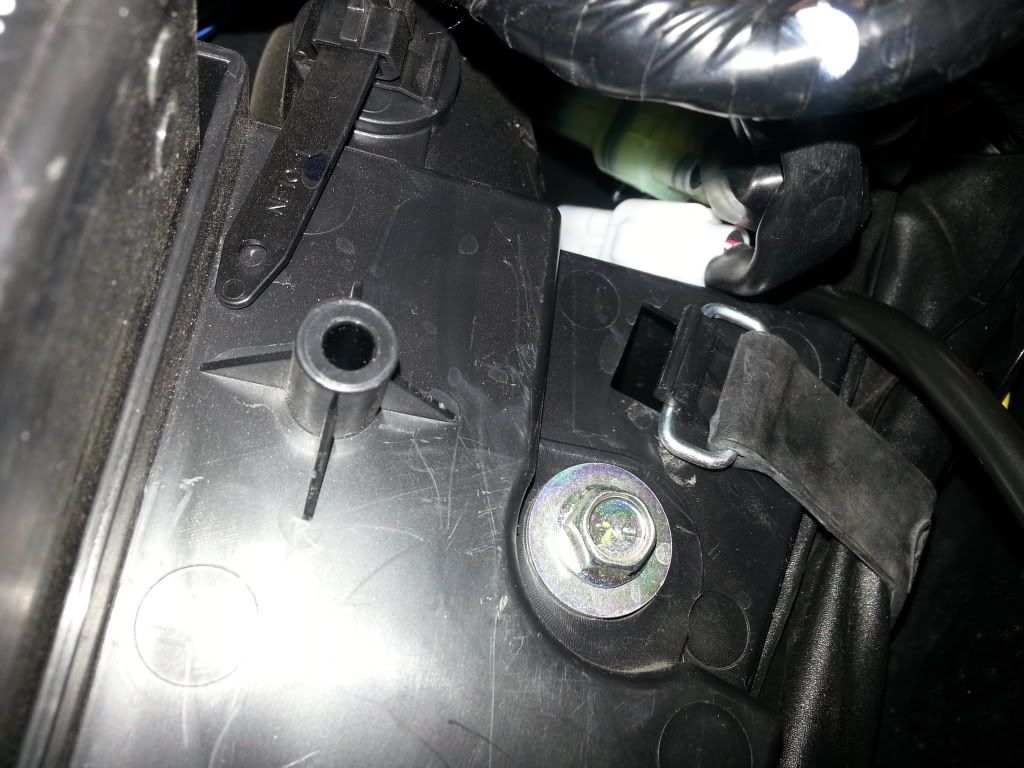
If you got the Tenere harness with the PC8 the relay can be mounted very neatly on this mystery lug.
the switching plug reach reaches the Auxiliary light plug easily and can be tucked back into it original location. The battery wires reach nicely and the cable leading to the PC8 board tucks neatly into the pocket where the tool bag goes.
Relocate Cruise/stop light fuse to the cable tidy just below it.
Remove the plastic mounting lug and fins to make room for the PC8 - Using a razor just score the plastic where you want it to snap and then bend it and it comes out very cleanly.
I chose to use velcro to then mount the PC8 for ease of pulling it out to access it if needed however there is enough room to insert wires with it in place, if you have fat sausage fingers like me some needle nose pliers work great for holding and inserting the wires into the PC8. If you were out in the field though you could simply rip the PC8 out make any modifications or repairs and then stick it back in without any tools.
If you got the Tenere harness with the PC8 the relay can be mounted very neatly on this mystery lug.
the switching plug reach reaches the Auxiliary light plug easily and can be tucked back into it original location. The battery wires reach nicely and the cable leading to the PC8 board tucks neatly into the pocket where the tool bag goes.
All - if you used this guide for your install please see my follow up thread: How to kill an EB PC-8 Relay: http://www.yamahasupertenere.com/index.php?topic=15625.0
Will Rotten
Member
Thanks for the heads up. I'll check mine out and see if I can turn it over.
Fpalbrecht
Active Member
Old thread but still great information. Installed the Pc8 today on my non es 2016. Used heavy duty velcro. Thanks for all the previous posts.
Sent from my SM-N910P using Tapatalk
Sent from my SM-N910P using Tapatalk
Attachments
-
 51.4 KB Views: 114
RCinNC
Well-Known Member
I was initially going to follow this mod, but ended up taking the easy way out and put my PC-8 under the seat.
http://www.yamahasupertenere.com/index.php?action=media;sa=album;in=75
http://www.yamahasupertenere.com/index.php?action=media;sa=album;in=75
Attachments
-
 36.4 KB Views: 125
Fpalbrecht
Active Member
Fennellg said:What is it used for? Chances are you can relocate what ever it is to the PC 8. I had the brain fart. The pc 8 has switched and un switched terminals.

Sent from my SM-G950U using Tapatalk
RCinNC
Well-Known Member
The modular plug is the trigger wire for the relay. You don't really need to use the plug, it just makes it convenient. You could cut the modular plug off the end of the PC8 trigger wire and connect it to the hot wire of the modular plug from the bike by splicing into it with something like a PosiTap connector. It doesn't have to be the hot lead from that connector; any switched hot lead on the bike that matches the voltage requirement of the relay would work, but that modular plug from the bike should be the conveniently close to the battery and relay. Tapping into the bike's modular plug hot lead shouldn't have any effect on whatever is currently plugged into that modular plug.
DogOne
New Member
This one has been posted a few times, I found it by dumb luck. i haven't bought it, but plan to.twinrider said:The triangular accessory plug that the PC8 plugs into is already in use on my bike. Does anyone have any suggestions for how to plug the PC8 in? Thanks.
The idea is that you buy the whole kit, then use the t-connector for the accessory light/whatever you already have plugged in.
http://electricalconnection.com/index.php/product/yamaha-super-tenere-accessory-connectors/
SpaceTraveler
Member
I got my Eastern Beaver PC8 installed today! Very happy. Great construction and easy to setup!
For now, I have only my GPS, heated clothes and PIAA light on it.
For now, I have only my GPS, heated clothes and PIAA light on it.
william.lavine
New Member
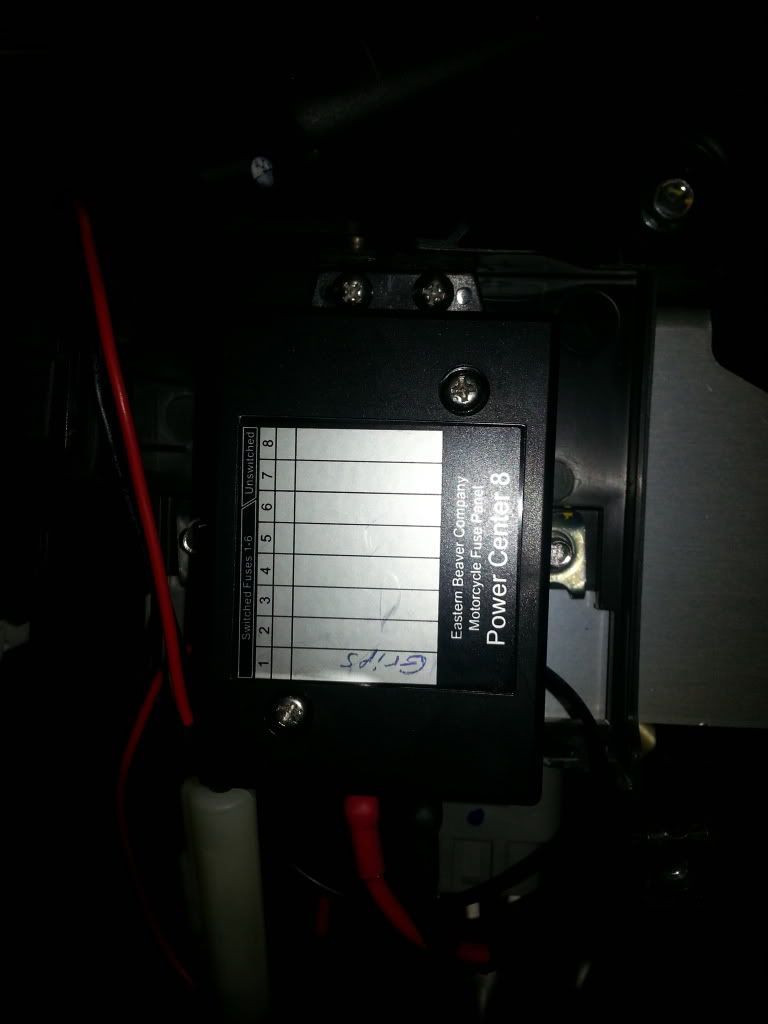
I bought my pc8 used and it seems to connect differently.
I'm guessing the loose black wire needs to be spliced to a keyed wire. But don't know if I have to do something with what I think is this relay...

Sent from my SM-N960U using Tapatalk
I'm guessing the loose black wire needs to be spliced to a keyed wire. But don't know if I have to do something with what I think is this relay...

Sent from my SM-N960U using Tapatalk
william.lavine
New Member
Bueller? Still looking for help from my last post. Thanks!
Sent from my SM-N960U using Tapatalk
Sent from my SM-N960U using Tapatalk
Riteris
Active Member
Bueller? Still looking for help from my last post. Thanks!
Sent from my SM-N960U using Tapatalk
See if this helps: https://www.easternbeaver.com/Main/Wiring_Kits/Fuseboxes/PC-8/Installation/body_installation.html#pc8wiring
william.lavine
New Member
That looks very helpful, thanks!
Sent from my SM-N960U using Tapatalk
Sent from my SM-N960U using Tapatalk
htimis
New Member
Can't find the triangular connector on a 2016 ES. Found the 4 wire one, but not the 3. Any suggestions?[May 18 2015 update: How to kill an EB PC-8 Relay: http://www.yamahasupertenere.com/index.php?topic=15625.0]
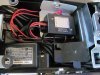
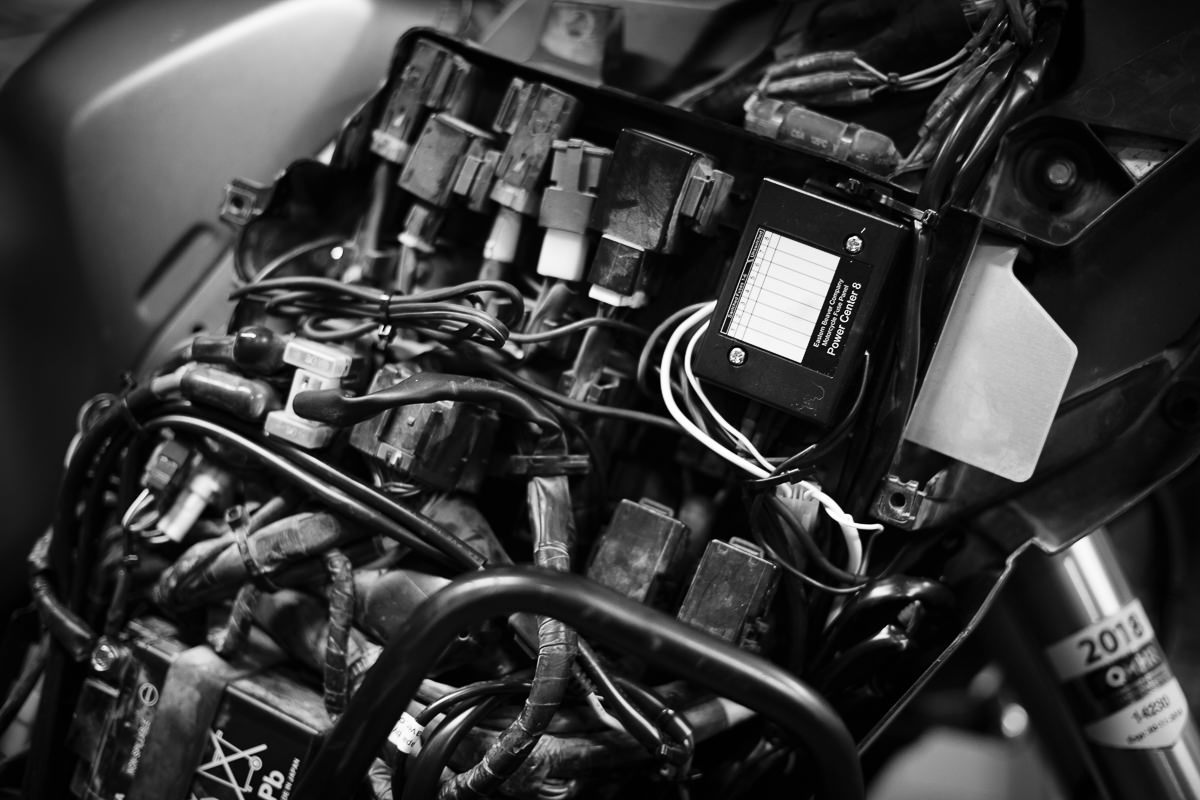
I mounted my recently acquired PC-8 from Eastern Beaver up yesterday. I took a bunch of pics - hope this helps someone.
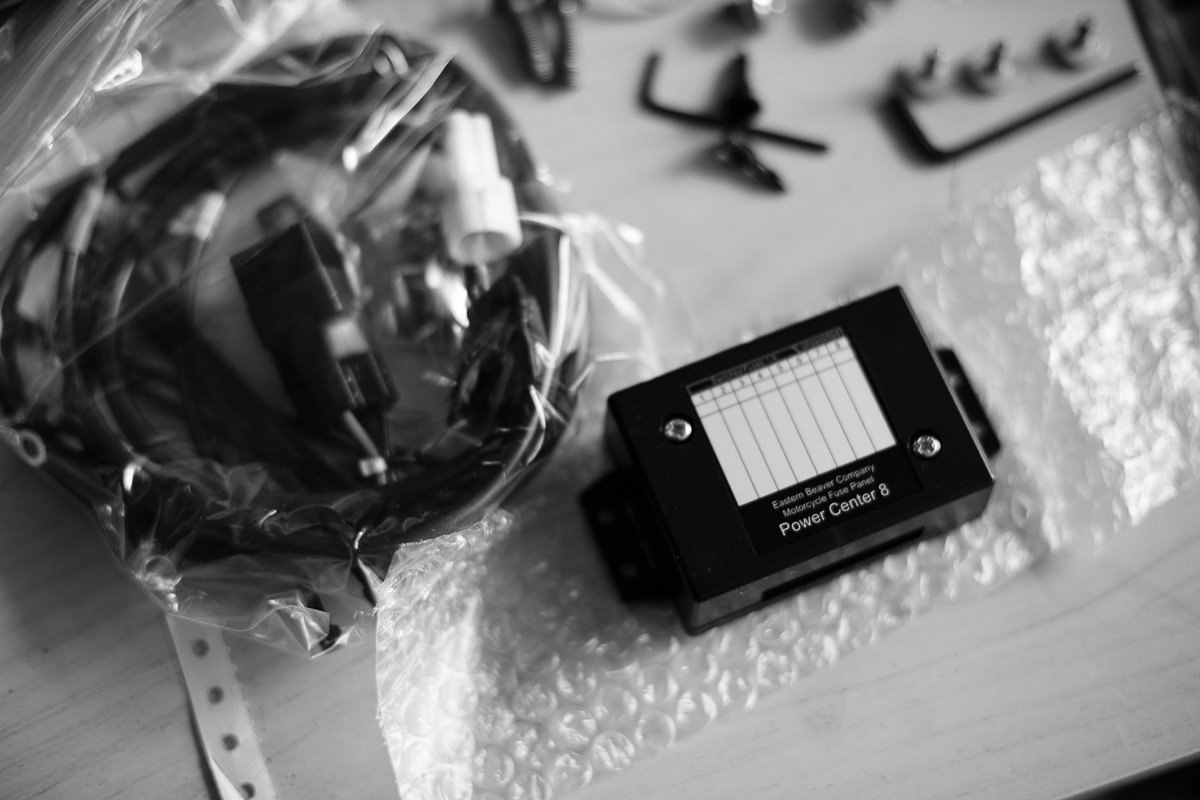
I chose to go in the compartment where the relays are on the right side of the bike. To get to it remove both right side fairings - the one that covers the battery (4 hex bolts) and the one above it - 4 or 5 screws and two little black fast button thingies on the fork side of the cowling.
After that you need to remove the fin in the middle of the empty space. I clipped mine in a bunch of spots and then snapped the pieces right off - they came off nice and clean but I then ground it with a dremel. You don't need the dremel work but I was in the mood. You can see my not so handy dremel marks below. I ended up going back and cutting that bottom fin most of the way back so I could get wires through without weird bends in the future.
I added velcro strips to help hold it completely down and in place while I put the screws in.
In place with the cover on.
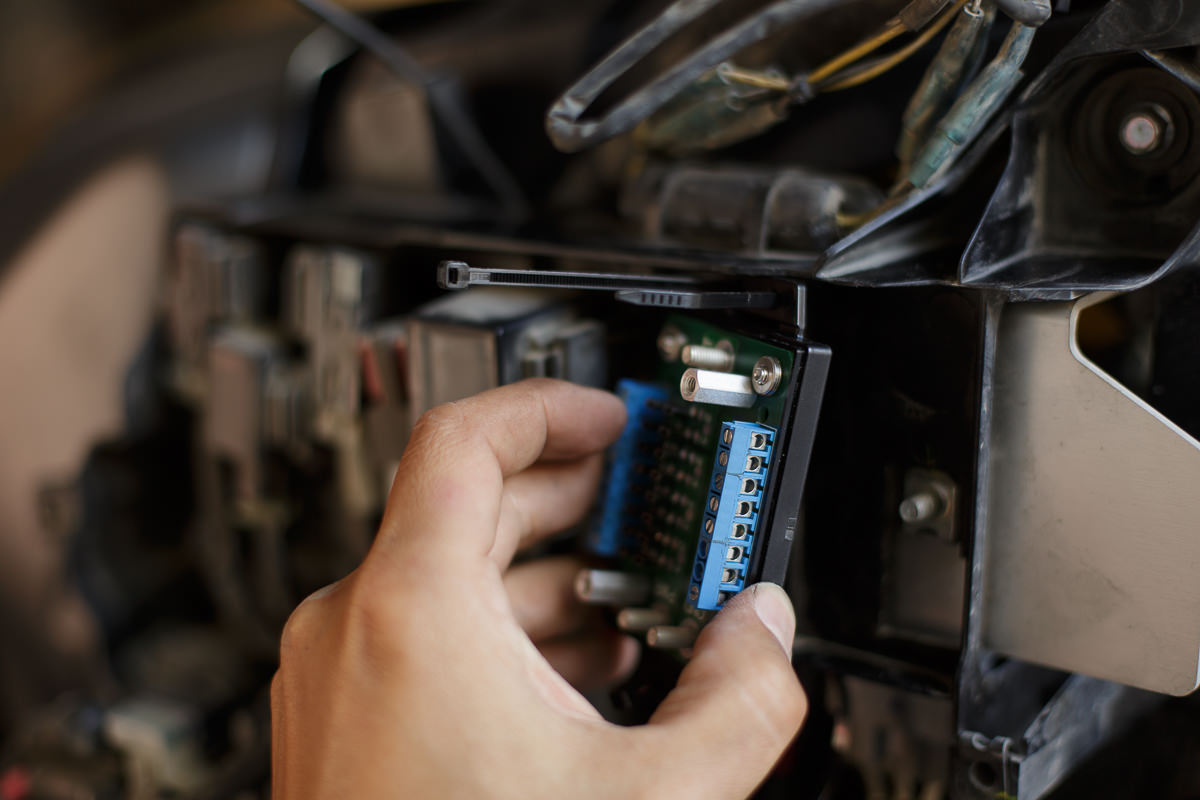
In place, cover off. The screws are aimed upward a touch to avoid the protective aluminum cover that goes over the reg/rectifier. I used the EB supplied screws.
Reg rectifier cover viewed from the front. The screws miss it completely (cant see it here).
Aux light harness connection. Aux light and heated grip leads. Remove the protective cap on the aux light lead. and the PC8 harness snaps right in. A small flat blade screwdriver helps.
Finding the switched light and grip harness - just right (front) of the battery in a little space.
Ground the sharp edge out-of-the-way by the negative terminal
Stuffed the relay and main fuse in the little space. Still have the tender lead directly to the battery.
Different view.
Lead to the PC8
Tucked the harness connection back in- you can't even tell it is there.
Mounted and wired.
Done, with KTM grip lead coming in from above. More to follow ...


Attachments
-
 23.7 KB Views: 12